







Industry news


View: 4

Release time:2026-09-01
Before an LED display is powered on for the first time, the electrical system should be checked carefully.
The LED cabinets may already be installed. Power cables and signal cables may be connected, and the control system may look ready. However, this does not mean the main breaker should be switched on immediately.
A loose power terminal, incorrect voltage, poor grounding, damaged cable, or short circuit can cause a breaker trip, damage a power supply, or create a serious safety risk.
A simple LED display electrical safety checklist can help installers find these problems before power reaches the screen.
An LED display contains many electrical components working together, including power supplies, LED modules, receiving cards, power cables, distribution boxes, and control equipment.
A problem in one part of the system can affect the whole display.
For example, a loose AC terminal may generate heat during operation. Incorrect DC polarity can damage electronic components. Poor grounding can increase electrical safety risks and may also contribute to unstable system performance.
The larger the LED display, the more important the inspection becomes because there are more cabinets, cables, connectors, and power circuits to check.
Before turning on the screen, follow these steps.
Start with the power source.
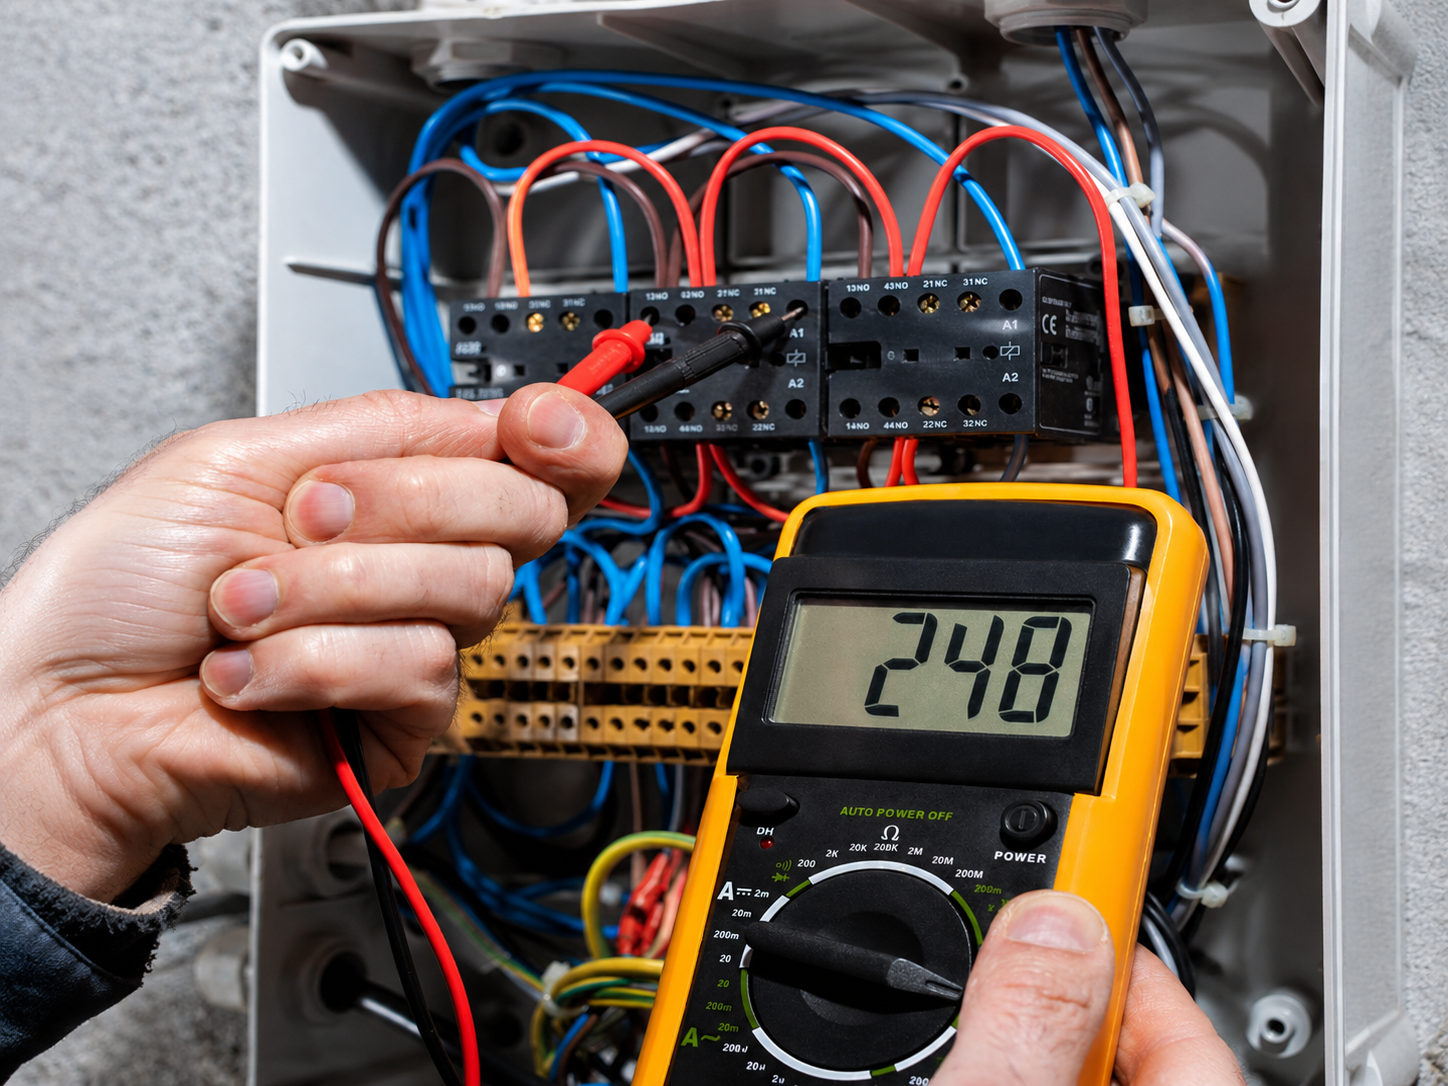
Check whether the actual input voltage matches the rated input voltage of the LED display power supply and distribution system.
Use a multimeter to measure the incoming voltage instead of relying only on the electrical drawings.
Check:
AC input voltage
Frequency
Live wire
Neutral wire
Ground wire
For projects using several power circuits, test each circuit separately.
Never assume that every outlet or distribution line has been wired correctly just because the installation is new.
Incorrect wiring should be found before the main breaker is switched on.
Verify that live, neutral, and protective earth conductors are connected to the correct terminals. Also check the terminal labels inside the distribution box and LED cabinets.
Look for:
Reversed connections
Loose terminals
Exposed copper
Damaged insulation
Incorrect cable connections
A cable that looks connected may still be loose inside the terminal. Check important power connections manually before the first power-on.
Proper LED display grounding is one of the most important electrical safety measures.
Do not simply check whether a green or yellow-green wire exists. Check the complete grounding path.
A typical grounding path may include:
LED cabinet → metal structure → distribution system → protective earth
All exposed conductive metal parts that require protective grounding should have a reliable connection.
This is especially important for large installations and LED displays installed on metal support structures.
If the project requires a grounding resistance test, use the appropriate testing equipment and follow the applicable local electrical requirements.
This step is sometimes missed during LED screen installation.
Before applying AC power, check for abnormal short circuits in the electrical system.
Pay particular attention to:
Live-to-neutral wiring
Live-to-earth wiring
Damaged power cables
Exposed conductors
Loose screws or metal parts near electrical terminals
Incorrect DC power connections
Also inspect the DC output from the power supplies to the LED modules and receiving cards.
If anything appears abnormal, keep the circuit disconnected until the cause is identified.
Never repeatedly reset a breaker without finding out why it tripped.
The cable must be able to safely carry the expected electrical load.
A small LED screen and a large commercial LED display have very different power requirements.
Check the cable specification according to factors such as:
Maximum screen power
Circuit current
Cable length
Installation method
Local electrical regulations
Do not judge cable capacity only by appearance.
For a large LED display, divide the electrical load into properly designed circuits instead of placing excessive load on one power line.
The distribution box should match the electrical design of the LED display.
Check whether the breakers and protective devices are correctly selected and clearly identified.
For larger installations, confirm that the load is distributed properly across the available circuits or phases.
Poor load distribution may not cause a problem when the screen first starts at low brightness. However, the issue can become obvious when the display plays bright content and power consumption increases.
This is why the power system should be checked based on expected operating load, not only standby conditions.
LED displays often contain many connectors between cabinets, modules, and power supplies.
Inspect them one by one.
A connector should be:
Fully inserted
Properly locked
Free from visible damage
Free from excessive cable tension
Pay special attention to cables around cabinet edges and structural joints.
During installation, a cable can become trapped between two metal parts without being noticed. It may work initially but fail later because of damaged insulation.
For an custom LED display, electrical inspection should also include moisture protection.
Check the cabinets, power connectors, cable entrances, distribution boxes, and other electrical areas.
Do not power the display if water is found inside an electrical enclosure.
Even indoor screens should be checked if they have been stored in a humid environment, transported through rain, or recently moved from a cold environment into a warm building where condensation may form.
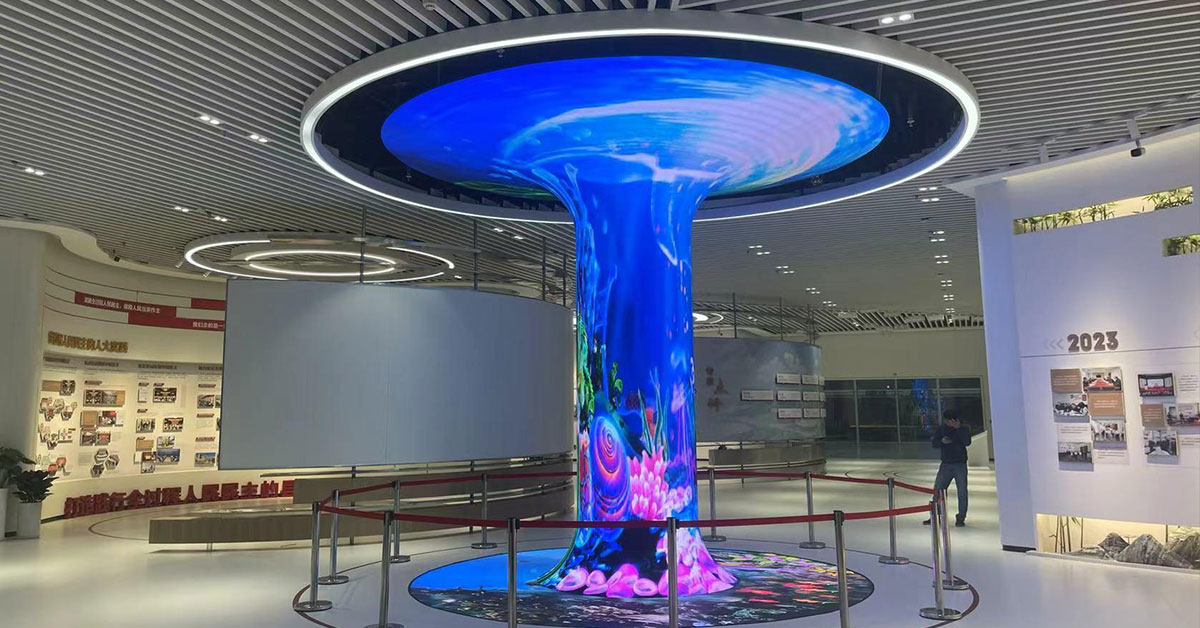
Electrical inspection can become more complicated with non-standard screen structures.
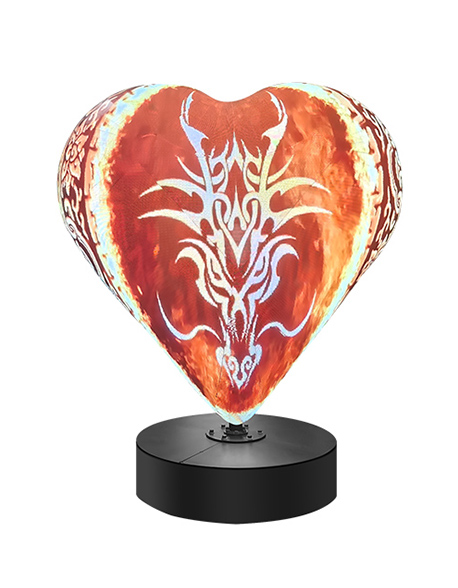
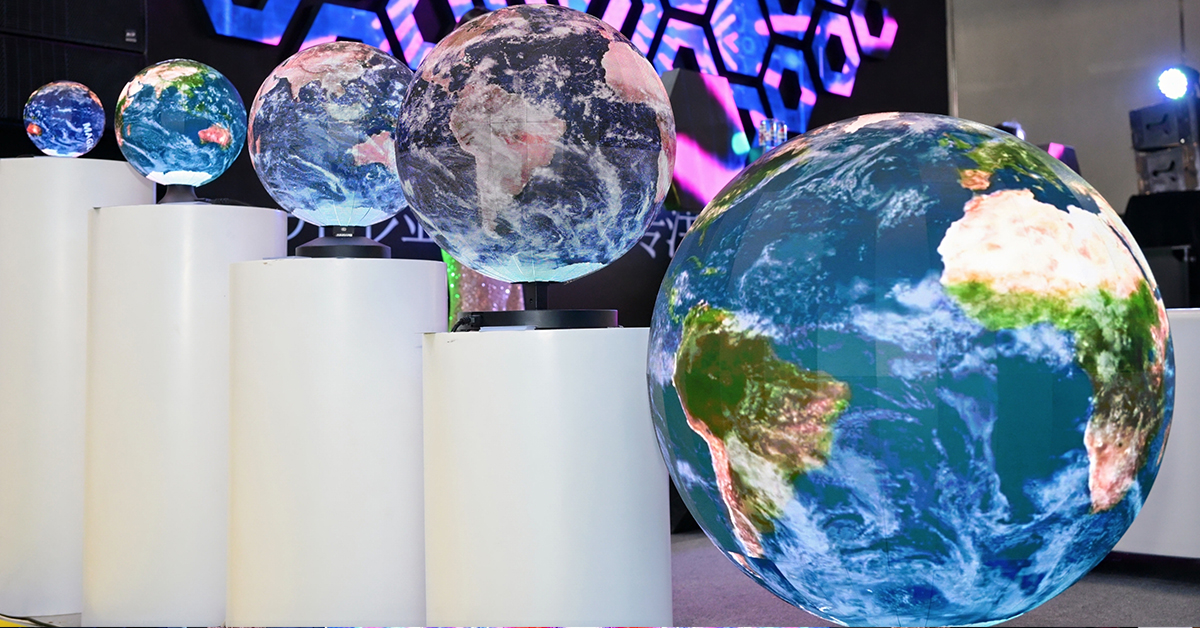
A spherical LED screen, for example, uses a three-dimensional structure rather than a simple flat cabinet arrangement. Power and signal cables may need to follow curved internal paths.
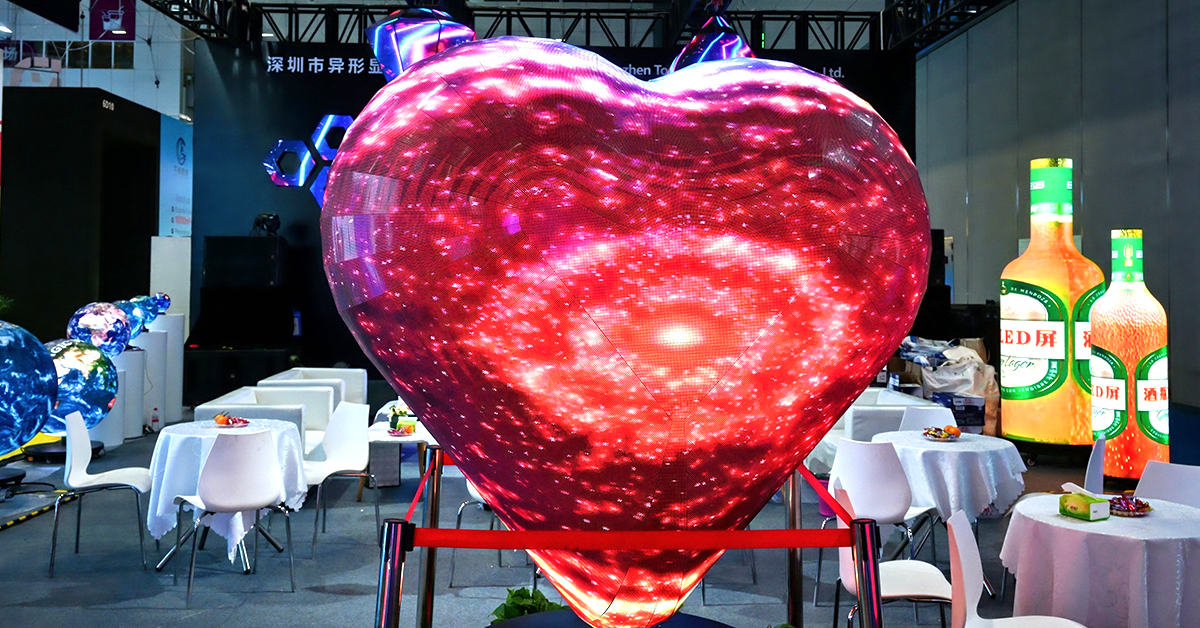
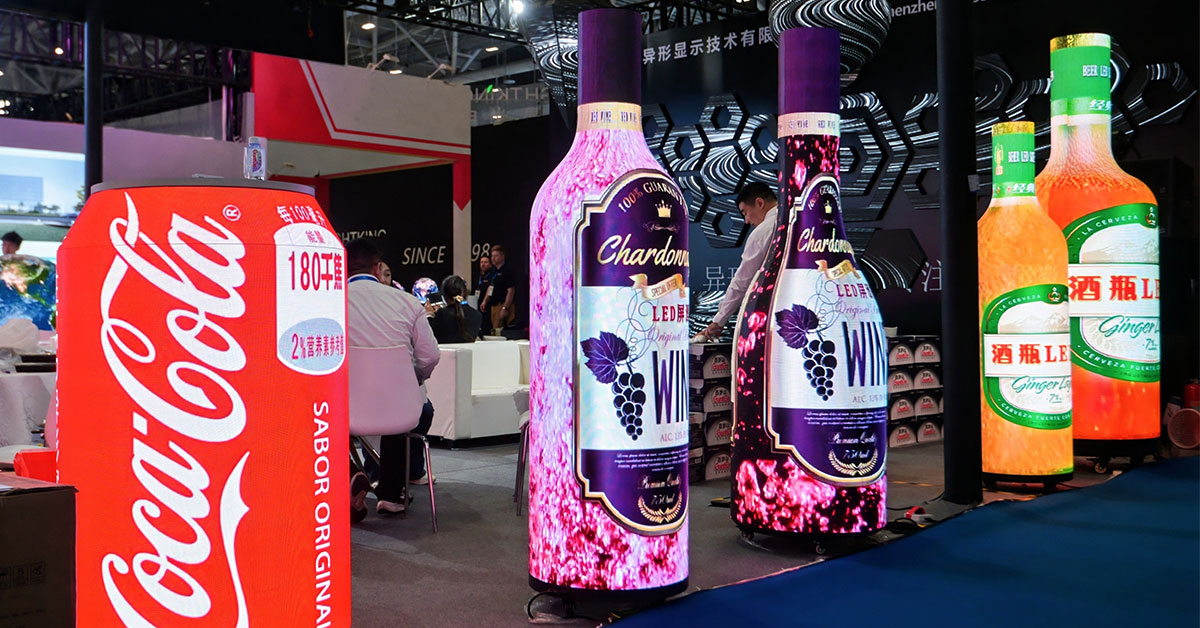
The same issue appears with curved, cylindrical, bottle-shaped, and other special-shaped LED displays.
Before powering these displays, check for:
Excessive cable bending
Cables pressed against the metal frame
Tight internal cable routes
Connector strain
Loose internal power connections
Proper grounding of the supporting structure
Uneven circuit loading
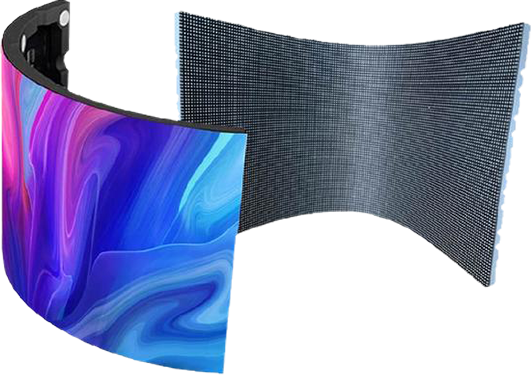
Flexible modules may also be used for curved structures. When working with a flexible LED display, make sure cables and connectors are not forced into positions that place unnecessary mechanical stress on electrical connections.
The more complex the shape, the more important this final inspection becomes.
After completing the LED screen power supply check, do not energize the entire display at once if the electrical design allows circuits to be tested separately.
A safer first power-on procedure is:
Step 1: Keep the main power off while completing the final inspection.
Step 2: Confirm voltage, grounding, wiring, and circuit condition.
Step 3: Turn on the distribution system.
Step 4: Energize one LED display circuit or section.
Step 5: Observe the screen for abnormal sound, smell, flickering, heat, or breaker trips.
Step 6: Continue powering the remaining circuits gradually.
Step 7: Run the LED display at low brightness first.
Step 8: Increase the operating load while monitoring the electrical system.
If something unusual happens, switch off the affected circuit and inspect it before continuing.
Before the first power-on, confirm:
✓ Input voltage is correct
✓ Live, neutral, and ground wires are correctly connected
✓ Grounding is reliable
✓ No abnormal short circuit is detected
✓ Power cables have sufficient capacity
✓ Breakers and protective devices are correctly selected
✓ Power connectors are fully locked
✓ No cables are damaged or compressed
✓ Electrical areas are dry
✓ Power loads are properly distributed
✓ Emergency power-off access is available
✓ Special-shaped structures have been inspected internally
Conclusion
The last few minutes before powering on an LED display can prevent hours of troubleshooting later.
Do not treat the first power-on as a simple ON/OFF operation. Check the complete electrical path from the distribution system to the power supply, cabinet, module, and grounding connection.
This becomes even more important for large installations and creative structures where cables must pass through curved or limited internal spaces.
TOOSEN provides indoor, outdoor, spherical, flexible, and custom-shaped LED display solutions for different commercial and creative applications. For projects involving unusual structures or customized installation requirements, electrical layout and maintenance access should be considered during the design stage rather than after the screen arrives on site.
A careful electrical inspection protects the equipment, simplifies commissioning, and helps the LED display start its service life safely and reliably.
 +86 18688923792
  andy@tosled.com