


News
Most genuine customer feedback, highly informative technical support videos, and our latest updates!
Most genuine customer feedback, highly informative technical support videos, and our latest updates!

View: 21

Release time:2026-09-23
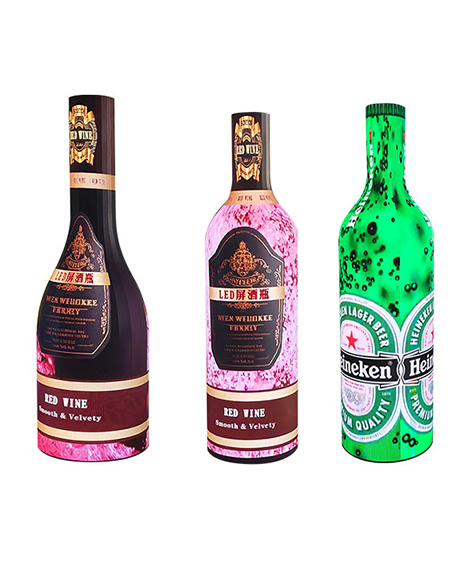
A bottle-shaped LED screen looks simple after installation, but the installation process is very different from mounting a normal flat LED display.
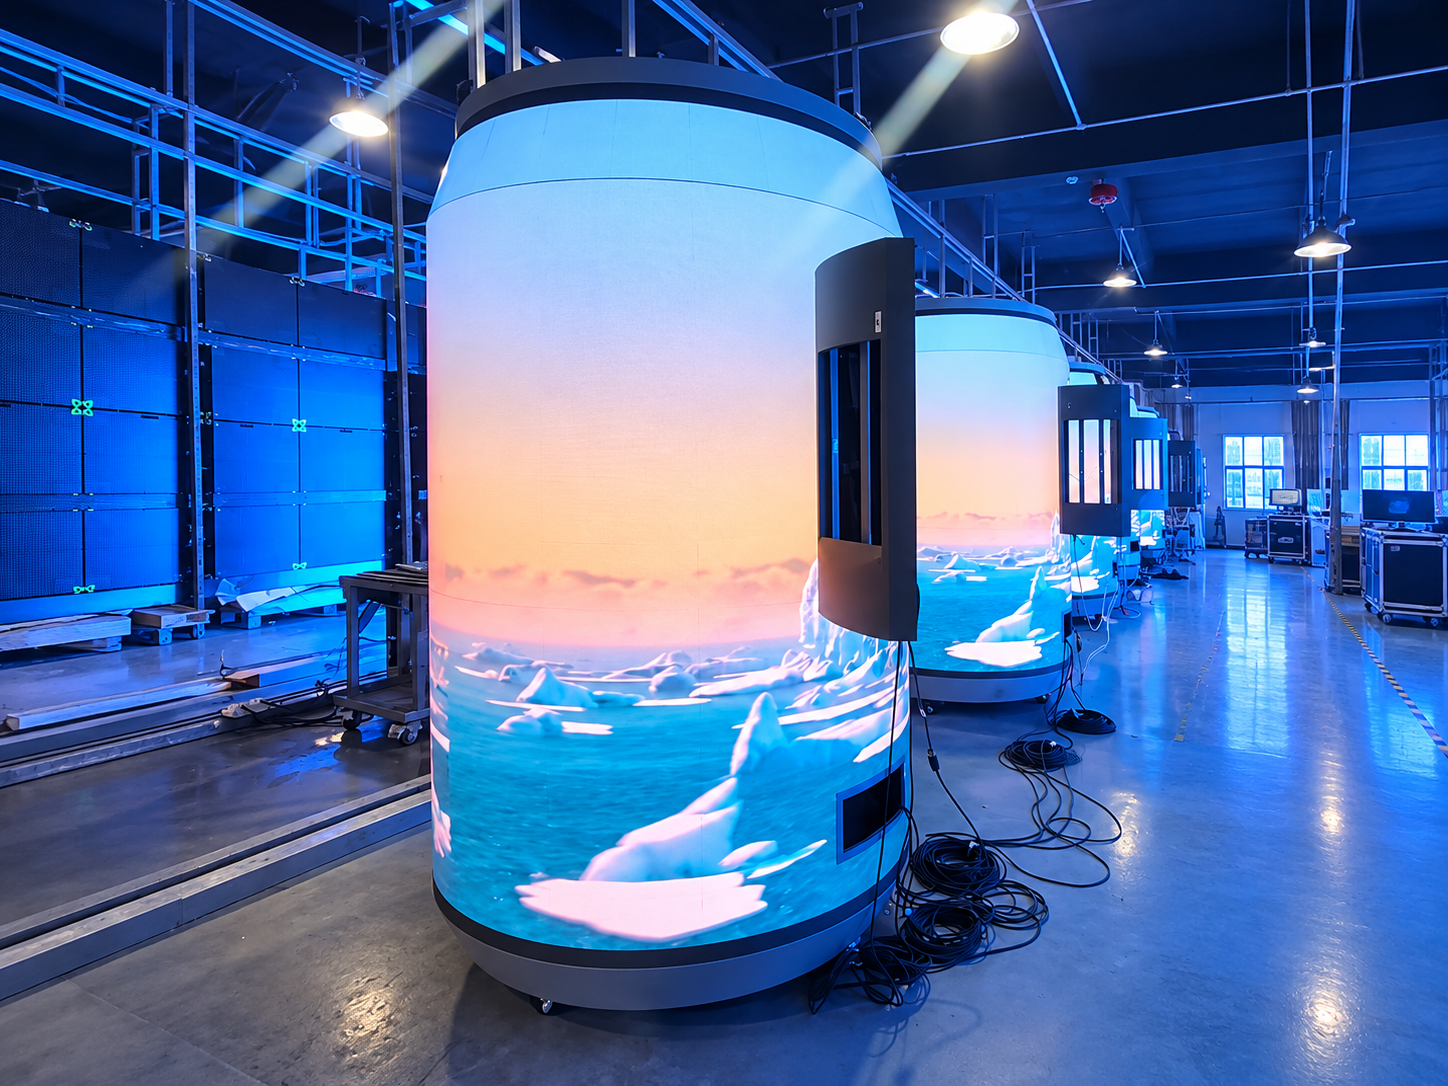
The screen surface may include straight sections, large curves, small-radius areas, and transitions between different diameters. If the steel structure, flexible modules, wiring, or module positions are slightly wrong, visible gaps and uneven images can appear.
For this reason, installation should start from the mechanical structure rather than from the LED modules themselves.
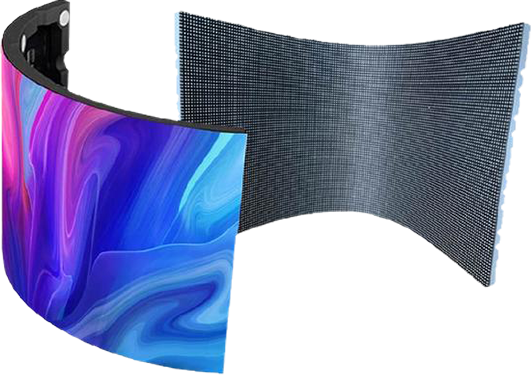
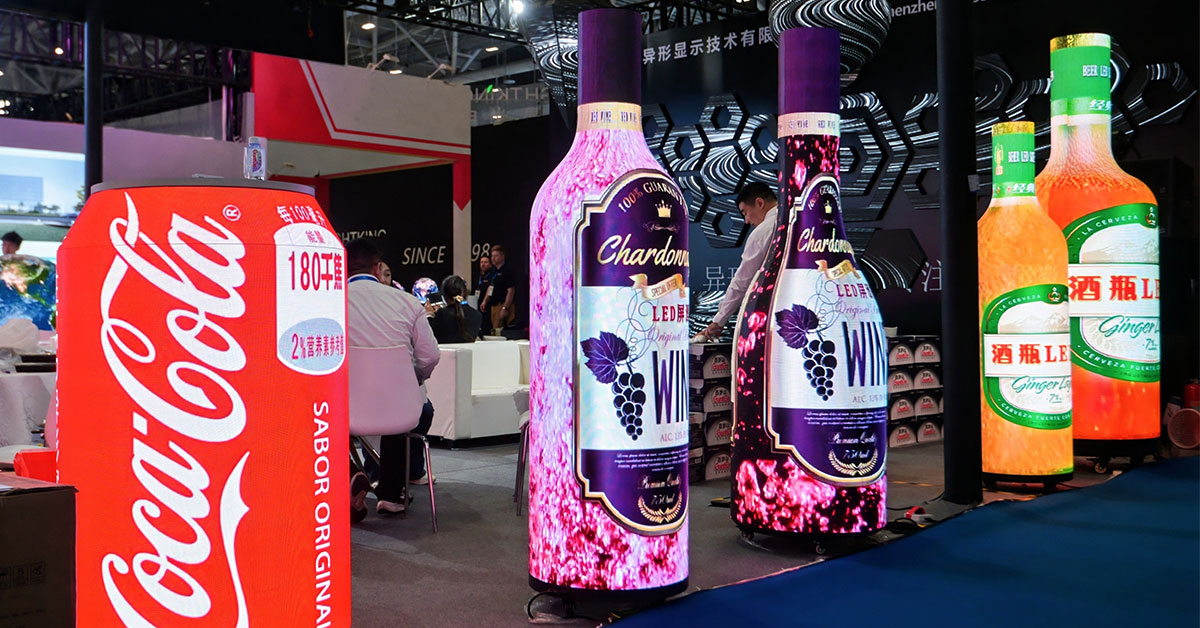
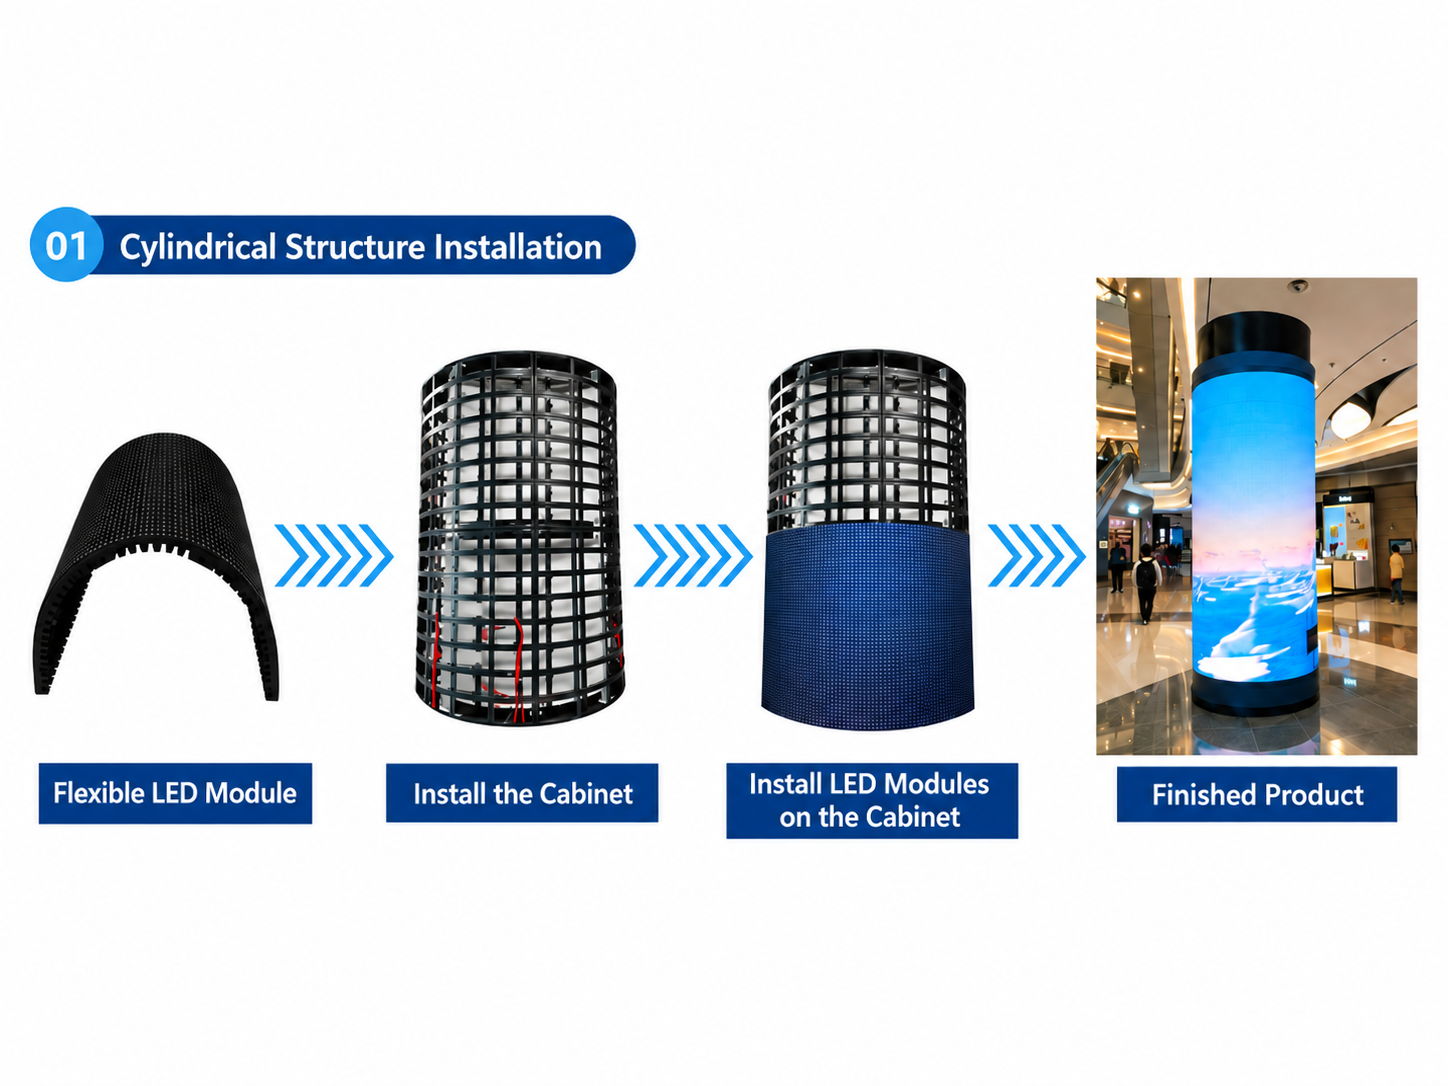
A bottle LED display is normally built from a customized metal frame and flexible LED modules that follow the external shape. TOOSEN also provides custom-shaped LED displays for cylindrical, curved, and bottle-shaped structures.
The first step is to confirm whether the supporting frame matches the approved drawing.
Check:
total height and diameter;
bottle neck diameter;
main body diameter;
transition curve;
vertical alignment;
module mounting surface;
service openings;
cable entry positions.
Do not use the flexible LED module to compensate for a badly manufactured frame.
The module can follow a curved structure, but it cannot correct large structural errors.
The reference vending-machine specification uses a segmented metal cabinet structure to reduce visible joints and improve surface flatness.
For a customized bottle-shaped LED display, the same principle is important: first make the frame accurate, then fit the LED surface to it.
This is one of the most important checks before installation.
Flexible LED modules are bendable, but they are not infinitely bendable.
The reference specification states that its flexible module can reach a minimum bending diameter of approximately 509 mm. It also warns against repeatedly folding or violently bending the PCB.
This becomes especially important around the bottle neck.
For example, the main body may have a large diameter and cause no problem, while the neck may require a much tighter curve.
Before production, compare:
Required bottle diameter ≥ allowable module bending diameter
If the bottle neck is too narrow, the solution may require:
a different flexible module;
a smaller module size;
redesigned bottle geometry;
segmented LED surfaces;
another custom PCB structure.
Never force a standard flexible LED module onto a radius it was not designed to follow.
Do not begin installing modules randomly around the bottle.
First establish one vertical reference line.
This line becomes the starting coordinate for:
module numbering;
cabinet position;
signal cable order;
power cable order;
video mapping.
Start from this reference line and install modules around the circumference in the same direction.
For large bottle displays, module positions can be marked as:
A01, A02, A03...
for the first row, followed by:
B01, B02, B03...
for the next row.
This simple numbering system makes later troubleshooting much easier.
If one section shows the wrong image after commissioning, engineers can identify whether the problem comes from physical installation or software mapping.
Flexible bottle LED screens often use magnetic front installation.
The reference module uses strong magnets, and its installation instructions specifically warn against violently pulling the module because excessive force can damage the copper connection points or flexible PCB.
During installation:
Place the module gently against the frame and let the magnets position it naturally.
Then check the four edges.
If one corner is higher than the surrounding modules, remove the module and adjust the mounting point rather than pressing the surface aggressively.
This is particularly important at diameter transitions where the bottle body begins to narrow.
TOOSEN's flexible LED solutions also use magnetic installation for curved structures, allowing individual modules to be removed for flatness adjustment and maintenance.
A bottle-shaped screen can become difficult to access after all modules are installed.
Power supplies, receiving cards, HUB boards, signal cables, and AC wiring should therefore be planned before the last section is closed.
Keep power wiring and signal wiring organized separately where possible.
Also calculate the power circuit according to the actual maximum load.
The reference P1.86 vending-machine screen lists a peak power of approximately 3500 W per unit and an average power of approximately 1600 W per unit, while the exact requirement depends on the final custom configuration.
Cable and breaker capacity should therefore be selected from the actual screen load rather than simply from the screen dimensions.
The specification also warns that excessive loading can cause voltage drop, brightness loss, breaker trips, or even screen damage.
Do not finish installation and immediately switch the entire bottle screen on.
Before powering the screen, use a multimeter to check the AC circuit and each low-voltage DC circuit for short circuits.
The reference installation requirements specifically call for checking both the 220 V AC circuit and 5 V DC circuits before startup.
A practical commissioning sequence is:
Frame check → module check → wiring check → short-circuit test → section power-on → full-screen power-on → signal mapping → video test
Testing the screen section by section makes faults much easier to locate.
If a breaker trips or a cable becomes hot, stop the test instead of repeatedly switching the screen back on.
A normal video is not enough to judge installation quality.
After the screen is powered, use several dedicated test images:
White: checks brightness uniformity and dark seams.
Red, green and blue: helps locate damaged LEDs or abnormal modules.
Gray: exposes module brightness differences and surface transitions.
Grid pattern: checks distortion around the bottle curve.
The grid test is especially useful for a bottle-shaped LED display.
Straight horizontal and vertical lines should remain visually continuous as they pass around the curved body.
If one section bends suddenly or appears displaced, check the module position, steel frame radius, and receiving-card coordinates before performing color calibration.
Maintenance should be considered during installation, not after the screen fails.
Flexible modules with magnetic mounting can support front maintenance, allowing individual modules to be removed without dismantling the entire bottle structure. The reference specification likewise uses magnetic front maintenance.
However, engineers still need access to internal:
power supplies;
receiving cards;
HUB boards;
AC distribution;
internal connectors.
For a vending-machine-style bottle screen, service doors can be integrated into the rear or internal structure.
The LED skin should never permanently block access to components that may need replacement.
One practical application is a beverage vending machine surrounded by a cylindrical or bottle-shaped LED display.
The reference specification shows a display integrated directly around a vending-machine body, creating a continuous advertising surface while keeping the product interface accessible.
Its reference P1.86 configuration includes:
screen diameter: 1222 mm;
display height: 2000 mm;
total height: 2300 mm;
resolution: 2064 × 1062;
SMD1515 LEDs;
12–16 bit grayscale;
HUB75 signal interface;
magnetic front maintenance;
viewing angle up to approximately 160° horizontally.
These numbers should be treated as one reference design rather than fixed specifications for every bottle LED screen.
Bottle dimensions, pixel pitch, resolution, structure, and vending-machine openings can all be customized.
Yes, if the required curvature stays within the module's allowable bending range. Very small bottle necks may require a different module or customized PCB design.
It can, but a dedicated supporting structure is normally recommended. The structure controls the final radius, flatness, service access, and cable routing.
Yes. Bottle-shaped structures usually have limited rear access, so magnetic front-service modules can greatly simplify module replacement.
Check the structure, module seams, AC/DC circuits, signal order, receiving-card coordinates, full-color test patterns, grayscale performance, and continuous playback.
TOOSEN manufactures custom shaped LED displays, including curved, cylindrical and bottle-shaped LED structures. Bottle LED screens can be produced for indoor or outdoor applications with different pixel pitches, resolutions, dimensions, and structural designs.
For a bottle-shaped project, it is better to provide the bottle drawing, total dimensions, minimum diameter, viewing distance, installation environment, maintenance requirements, and required openings before production.
This allows the LED module layout, steel structure, power system, signal mapping, and maintenance method to be designed together rather than treated as separate parts.
 +86 18688923792
  andy@tosled.com