


Industry news


View: 174

Release time:2026-04-24
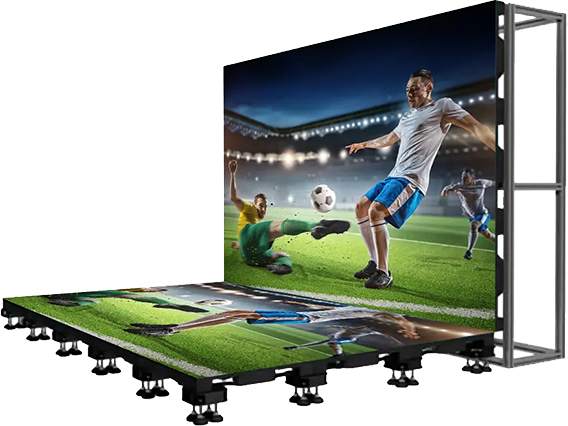
LED floor screens look spectacular. They turn stages, showrooms, and retail spaces into immersive environments that people can literally walk on. However, behind that visual impact lies a level of engineering complexity that many teams underestimate.
If you approach an LED floor project the same way you would a standard LED wall, you will likely face delays, cost overruns, or even system failure.
This guide breaks down the most common installation pitfalls—and shows you how to avoid them with a practical, engineering-first mindset.
At a glance, an LED floor may seem like a simple variation of a standard display. In reality, it combines multiple disciplines:
Structural engineering (load-bearing requirements)
Precision leveling (surface tolerance control)
Electrical planning (integrated power and data routing)
Thermal management (heat dissipation in enclosed spaces)
In short: you are not just installing a display—you are building a functional floor system.
Even minor unevenness in the base surface can create serious issues:
Visible gaps between tiles
Panel instability (“rocking”)
Uneven load distribution leading to damage
Start with precision:
Use a laser level to survey the entire area
Maintain a tolerance of ±1–2 mm across the surface
If necessary:
Apply self-leveling compounds
Install a steel support structure
A perfectly flat base is not optional—it is foundational.
Each LED floor tile requires individual height adjustment. On large installations, this becomes extremely time-consuming.
Plan installation time based on:
Number of tiles
Adjustment points per tile
Allocate 30–50% of total install time to leveling alone
If your timeline looks tight, it’s probably unrealistic.
LED floor systems often feature enclosed designs with protective top layers. This restricts airflow and traps heat.
Heat buildup reduces LED lifespan
Performance degradation occurs over time
Design for airflow:
Include ventilation gaps
Avoid fully sealed cavities
For demanding applications:
Integrate active cooling systems (fans)
Test under real conditions:
Full brightness + continuous operation
Thermal issues don’t fail fast—they fail quietly over time.
Unlike wall-mounted LED displays, floor systems offer limited access after installation.
Tight internal space
Difficult post-install maintenance
High risk of messy or inefficient routing
Plan power and signal layout in advance
Install cables simultaneously with tiles
Segment circuits to:
Reduce voltage drop
Simplify troubleshooting
Poor cable planning will slow down installation and future maintenance.
LED floor screens must support dynamic loads:
Foot traffic
High heels, equipment, or stage props
Jumping or crowd movement
Verify manufacturer specifications:
Load capacity (kg/m²)
Impact resistance
Reinforce high-traffic areas
Account for uneven load distribution
You are building a surface people trust to stand on—treat it accordingly.
Teams often expect installation speed similar to LED walls.
Reality is different:
Continuous leveling adjustments
Integrated wiring during placement
More complex structural setup
Break the project into phases:
Base preparation
Structural setup
Tile installation and leveling
Wiring integration
System testing
Add at least 30% buffer time to your schedule.
Initial budgets often focus only on hardware costs.
Hidden costs include:
Labor-intensive installation
Extended project timelines
Structural preparation
Maintenance accessibility
Budget realistically for:
Skilled labor
Time overruns
Contingency (10–20%)
Most budget overruns come from labor—not materials.
The project is small-scale
Your team has prior experience
You have a flexible timeline
The installation is large or complex
The timeline is tight
This is your first LED floor project
A turnkey solution often reduces risk and total cost.
Before committing to your LED floor screen project, confirm:
• Floor flatness verified (±1–2 mm tolerance)
• Leveling time properly estimated
• Thermal management strategy in place
• Power and data routing planned
• Load-bearing capacity validated
• Installation timeline includes buffer
• Budget accounts for hidden costs
LED floor screens deliver powerful visual impact—but they demand precision, planning, and engineering discipline.
They are not simply “LED panels placed on the ground.”
They are a hybrid system that combines display technology with structural and environmental constraints.
If you approach the project with that mindset, you can achieve a smooth installation and long-term reliability.
If you don’t, small issues can quickly escalate into costly problems.
 +86 18688923792
  andy@tosled.com


